THE POPPIES ANGLE - A FREE TUTORIAL

Hello, Stampers!
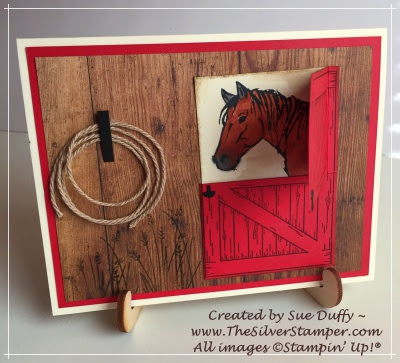
I've created a photo tutorial for cutting the DSP angle for the above card front my January stamp camp, mostly because I am somewhat math-challenged and became frustrated trying to create this card using strictly measurements. Just click below for the step-by-step.
I hope you find it helpful. If you would like a printable version, just contact me or leave a comment! Products below.
Happy Stampin’!
Sue Duffy ~
mandsduffy@comcast.net
Sue Duffy ~
mandsduffy@comcast.net
WHAT TO DO
Cut a piece of DSP of your choice
4-1/8"w x 4"h.
Place on paper trimmer right side
up with 4-1/8" side at the top.
Angle so top LEFT corner is in the track and the bottom LEFT corner is
at the 1-1/2" mark and trim (Figure 1).

For BOTTOM angled edge, place
(now new) bottom LEFT corner in track and angle bottom RIGHT corner
to the 1" mark at the RIGHT (outside) of the trimmer guide and trim
(Figure 2).

Lining up top and right edges, adhere
trimmed DSP to a piece of card stock 4-1/4" square (Figure 3).

Here is where it got a little tricky for me. It's a good thing I have lots of retired DSP and CS with which I experimented! So . . .
With a ruler and stylus or pencil, mark the card stock at the LEFT and BOTTOM angled edges only, about 1/8" from the edge of the DSP, for a border (Figures 4 and 5).


Add die-cut poppy, leaves and embellishments.
Stamp 5-1/4 x 4 WW cardstock for inside, if desired.
Stamp 5-1/4 x 4 WW cardstock for inside, if desired.


Comments
Post a Comment